How many times did you run a desktop application in containers?! probably never, or the idea could've crossed your mind few times before at most. We all used and familiar with using containers to run different non-UI and headless applications and environments. But I never thought I'll need such a feature (and honestly still wondering if I would really need to) run my desktop application in containers, but lately I decided to have some fun running JavaFx apps in containers.
This blog post explains the steps to run containerized JavaFx applications using Docker. I tested it in both MacOs (Catalina) and Windows (10).
The JavaFx App
The JavaFx application I'll be using throughout this post is the 2048 game built using JavaFX and Java 11 by Bruno Borges. It uses gradle to compile and build the artifacts. The dist task generates (depending on your OS) binaries for Windows, Mac or Linux, with Java bundled in (using Java 11 jlink custom images). The generated ZIP file come with a binary that starts the game with the bundled optimized/trimmed JVM with only the needed modules.
Containerizing the app
I used multistage build to build the app, generate the zip file, extract it and copy only the extracted files to the final container image. Note that I chose to build the app from the source code, as I could simply download and extract the zip directly from the project releases.
The second stage uses ubuntu 18.04 as base image. I also installed xorg as display server, and the libgl1-mesa-glx package containing the LibGL library. The rest is pretty straightforward.
FROM gradle:jdk11 as builder
COPY --chown=gradle:gradle . /home/gradle/fxgame
WORKDIR /home/gradle/fxgame
RUN gradle dist --no-daemon
RUN unzip /home/gradle/fxgame/build/distributions/game2048-*.zip -d /tmp/fxgame

FROM ubuntu:18.04
COPY --from=builder /tmp/fxgame/image/ /fxgame
RUN apt-get update && apt-get install --no-install-recommends -y xorg libgl1-mesa-glx && rm -rf /var/lib/apt/lists/*
WORKDIR /fxgame
CMD ./bin/fxgame
From this Dockerfile, you can build the container image using docker build -t fxgame .
Running the game
Now that we built our container image, we need to run it! Before we do, we have to setup the host since we'll share the X11 socket with the container and use it directly.
On MacOS (Catalina)
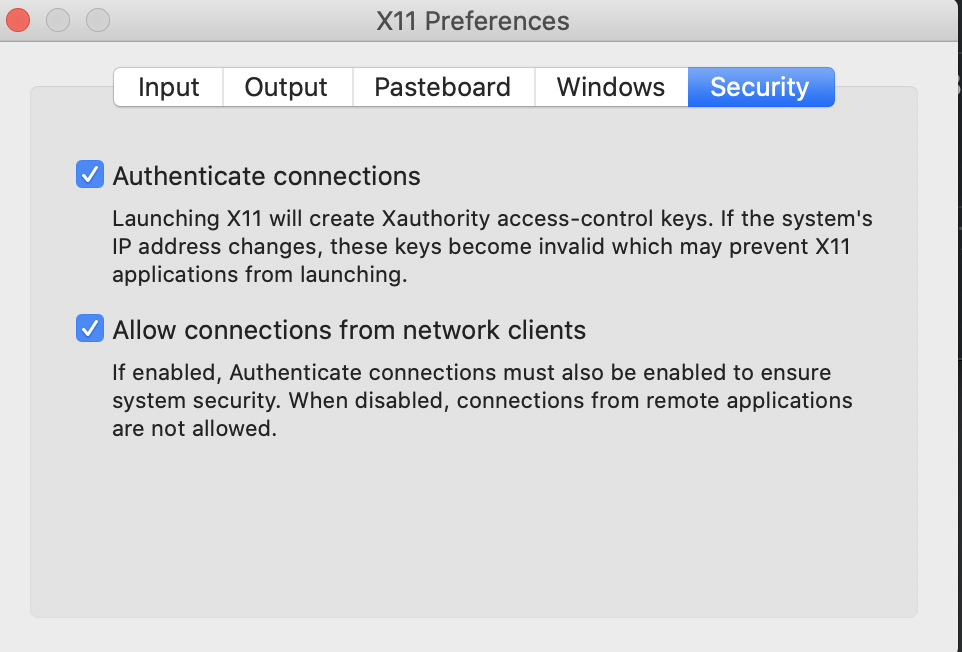
First, download Xquartz (https://www.xquartz.org) & install it. Once done, go to xQuartz > preferences > Security and check the “Allow connections from network” option. This basically allow xquartz to accept connection from remote applications. The second step is to whitelist our local environment & allow access using: xhost +127.0.0.1. Note that you'll need to run the previous command every time you re-open Xquartz.
On Windows (10)
First of all, you need to download and install VcXsrv Windows X Server. During the setup, make sure to check Disable access control to allow remote connections.

Running the container
Now that we setup all the required prerequisites, run the following command to start your container: docker run -it --rm -e DISPLAY=host.docker.internal:0.0 fxgame. We defined an environmental variable named DISPLAY. The DISPLAY environment variable instructs an X client which X server it is to connect to by default. Its value should respect the following form hostname:D.S, where:
hostnameis the name of the computer where the X server runs. we specified the machine host machine in our caseDISPLAY=host.docker.internalDis a sequence number (0 in the example, as I've one display). It can be varied if there are multiple displays connected to one computer.Sis the screen number (0 in the example, means only one screen). A display can actually have multiple screens.
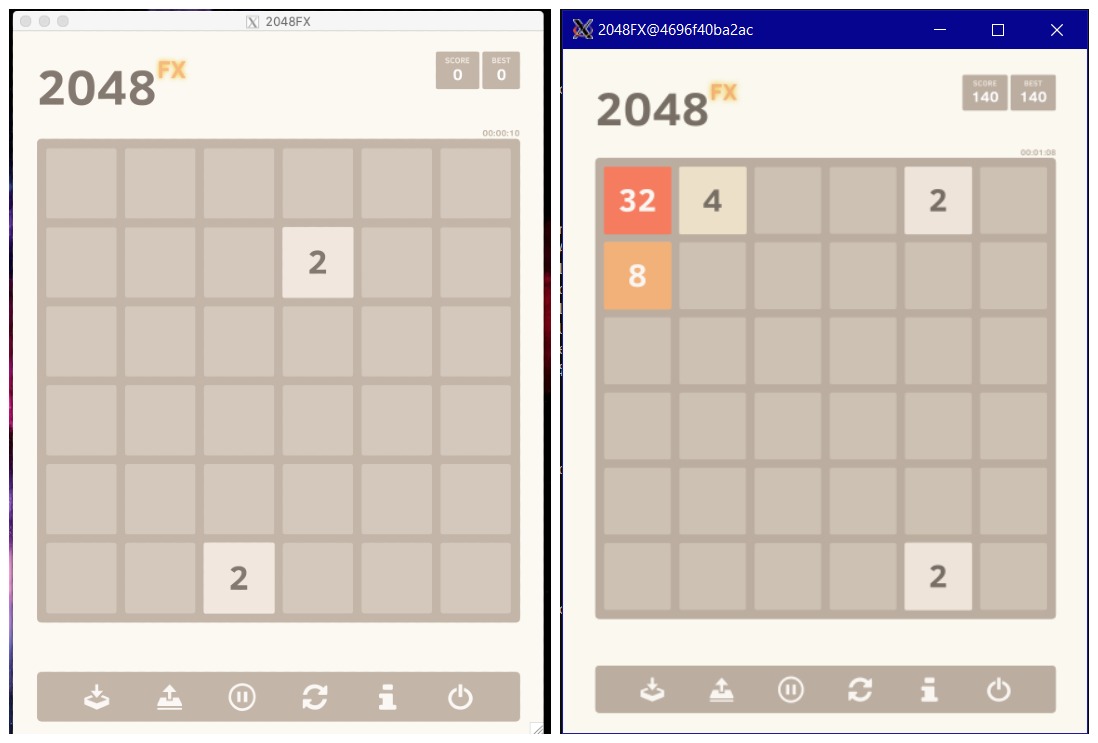
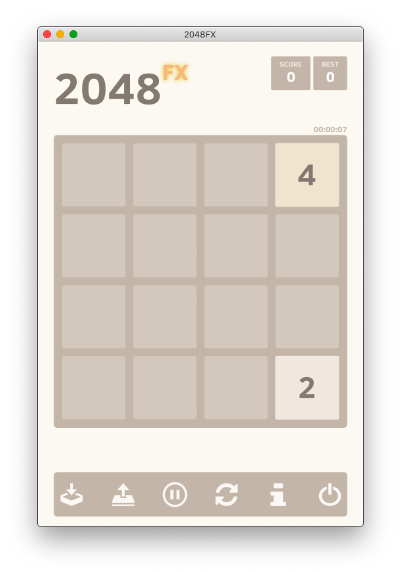
Below are the result of running the container in both Windows and MacOS.